How do I activate an autoresponder?
An autoresponder is an automatic reply to incoming emails. It is useful, for example, if you are on vacation or temporarily unavailable.
Table of Contents
- Set up an autoresponder in CloudPit
- Set up an autoresponder in Controlpanel
- Set up an autoresponder in Webmail
Set up an autoresponder in CloudPit
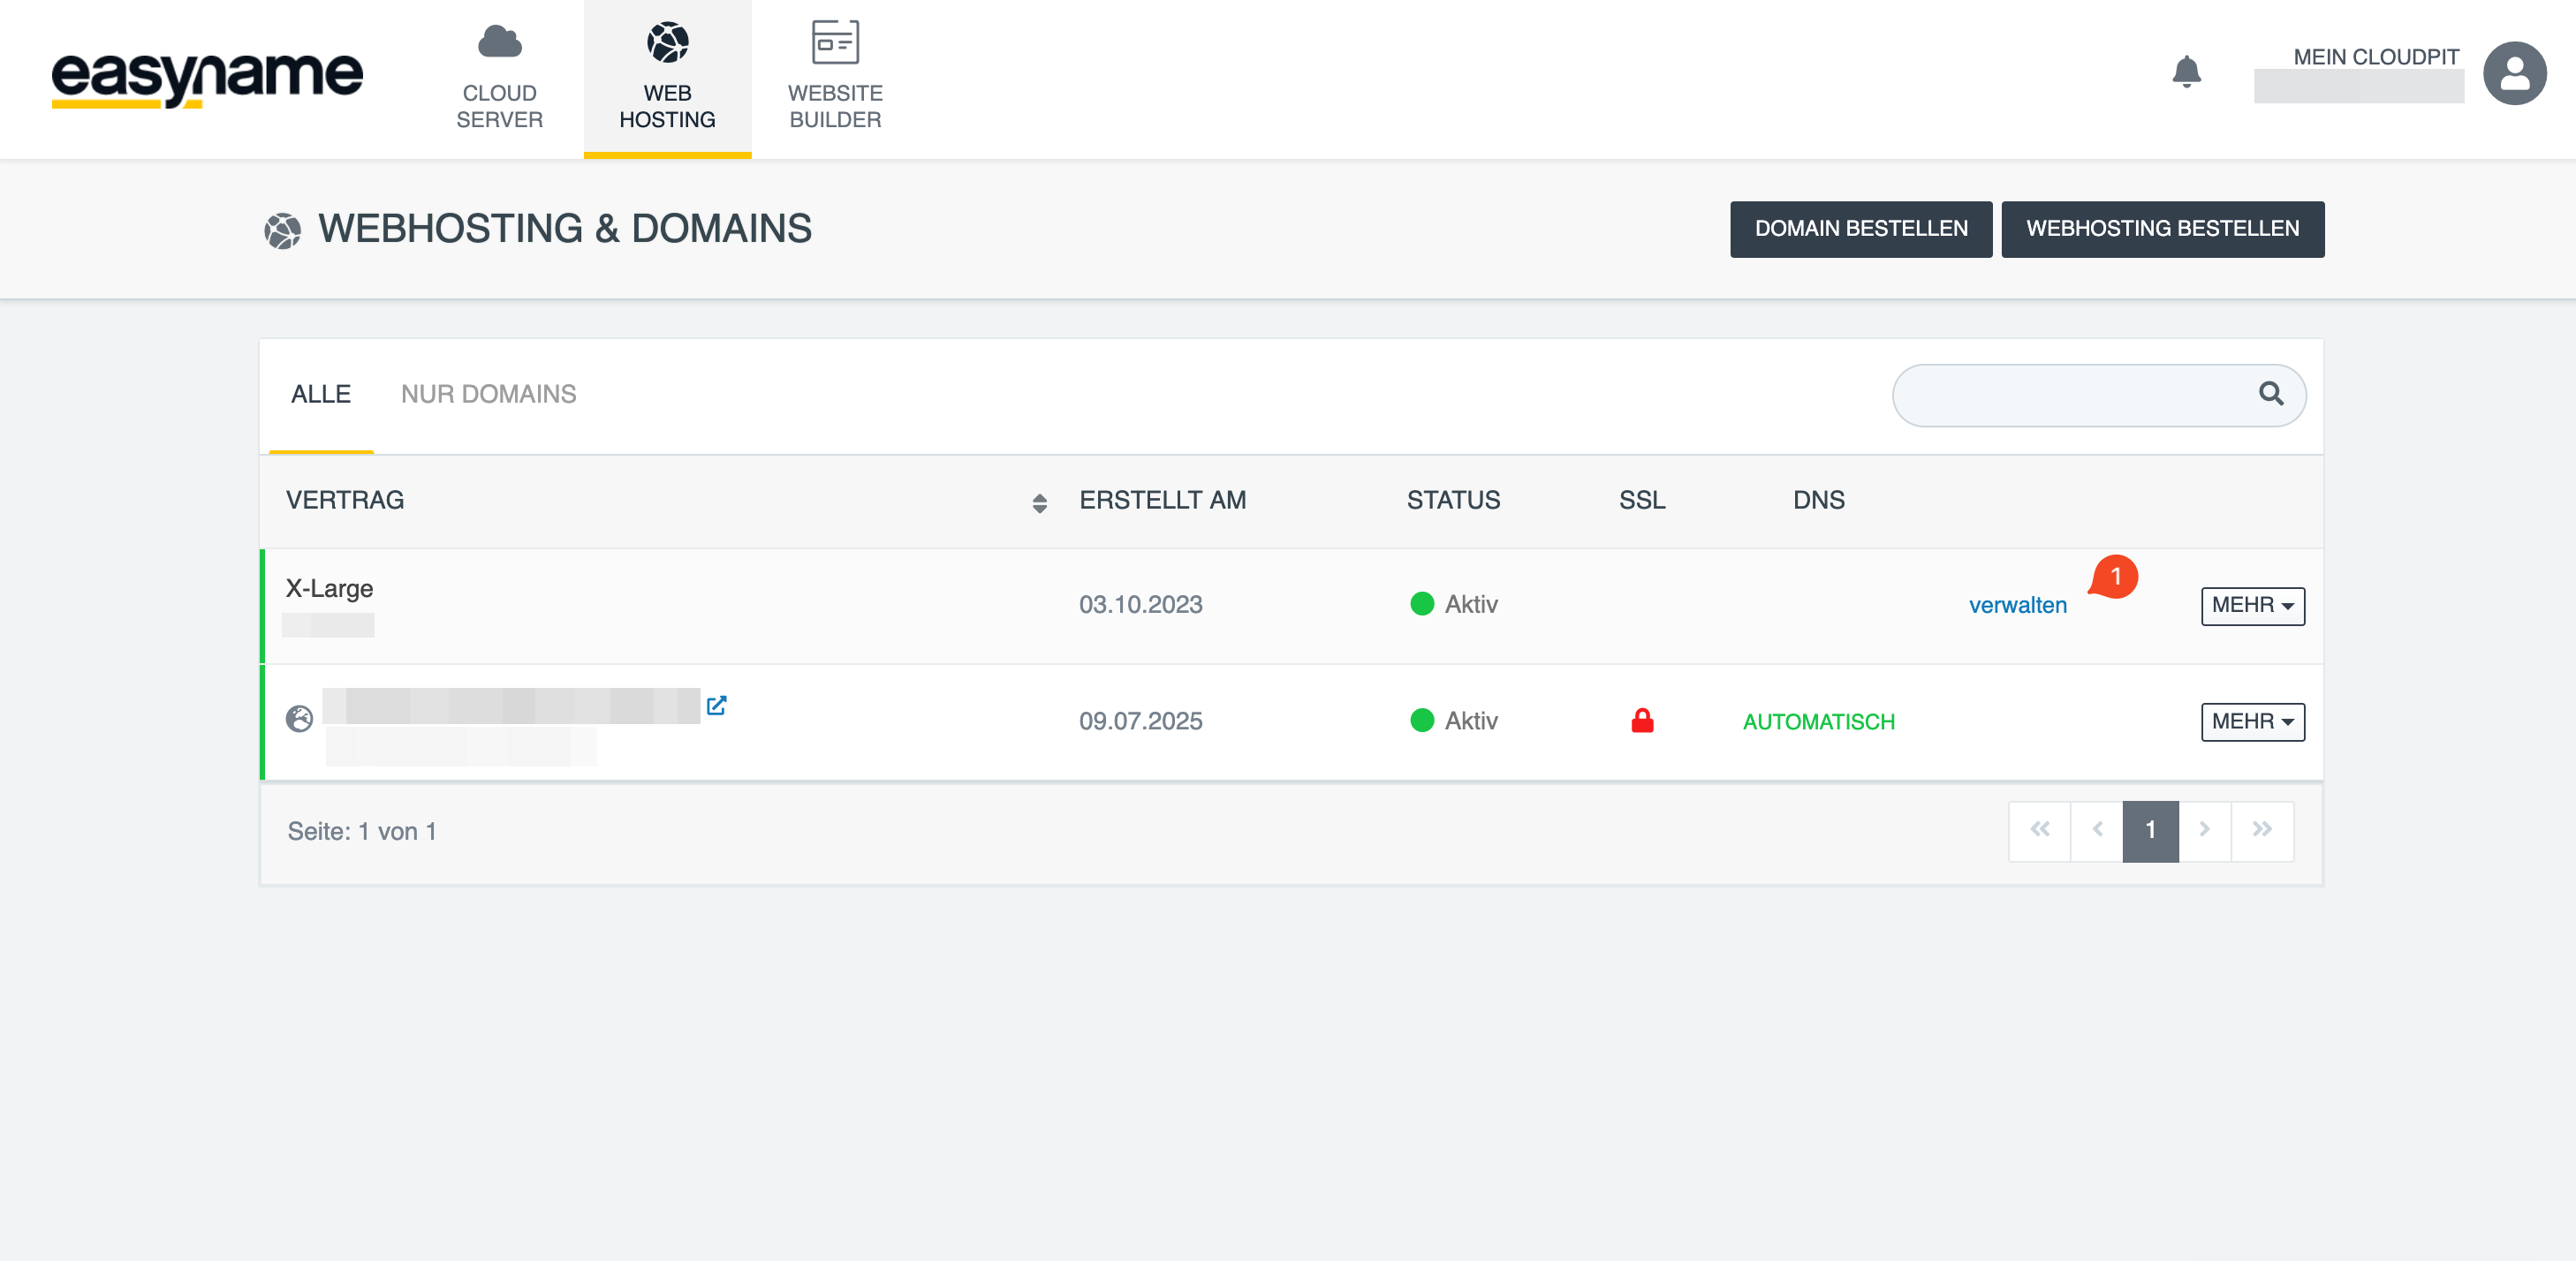
Log in to CloudPit. Select the desired web hosting package and click Manage (1).
Alternatively, you can switch to web hosting management via MORE → Open management.
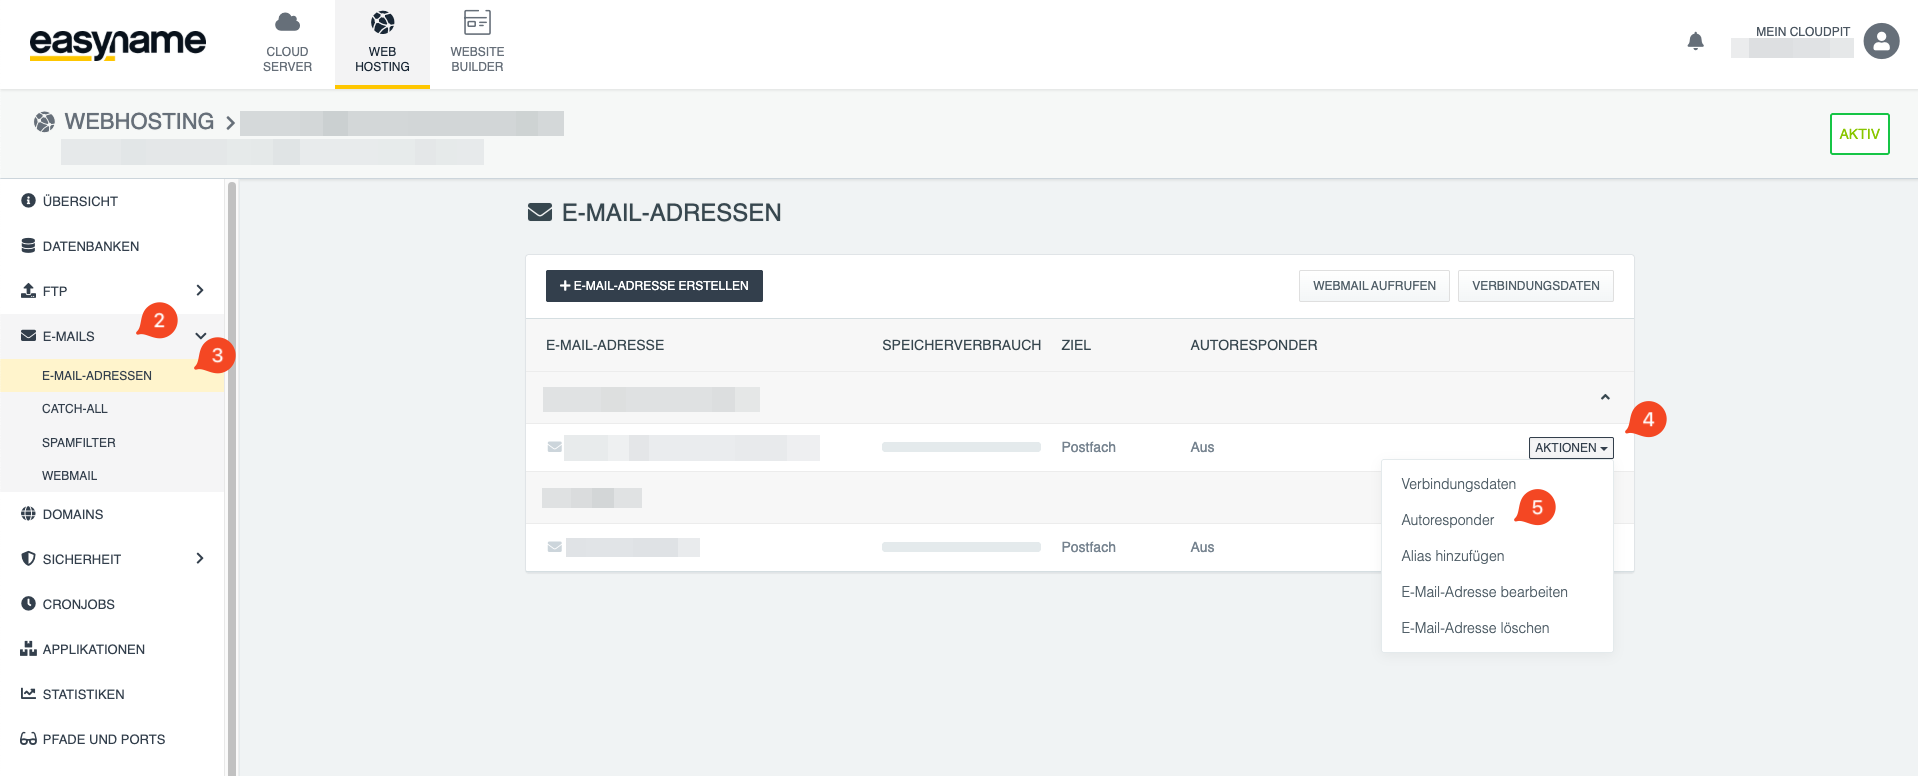
Open Emails (2) → Email addresses (3) in the left menu.
Click Actions (4) next to the desired email address and select Autoresponder (5).
Activate the autoresponder and enter the Subject and Reply text.
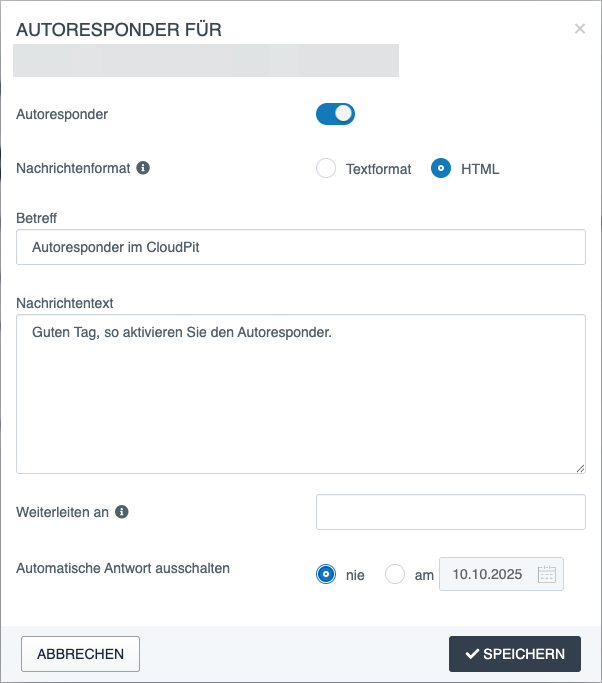
Click Save to activate the autoresponder.
Set up an autoresponder in Controlpanel
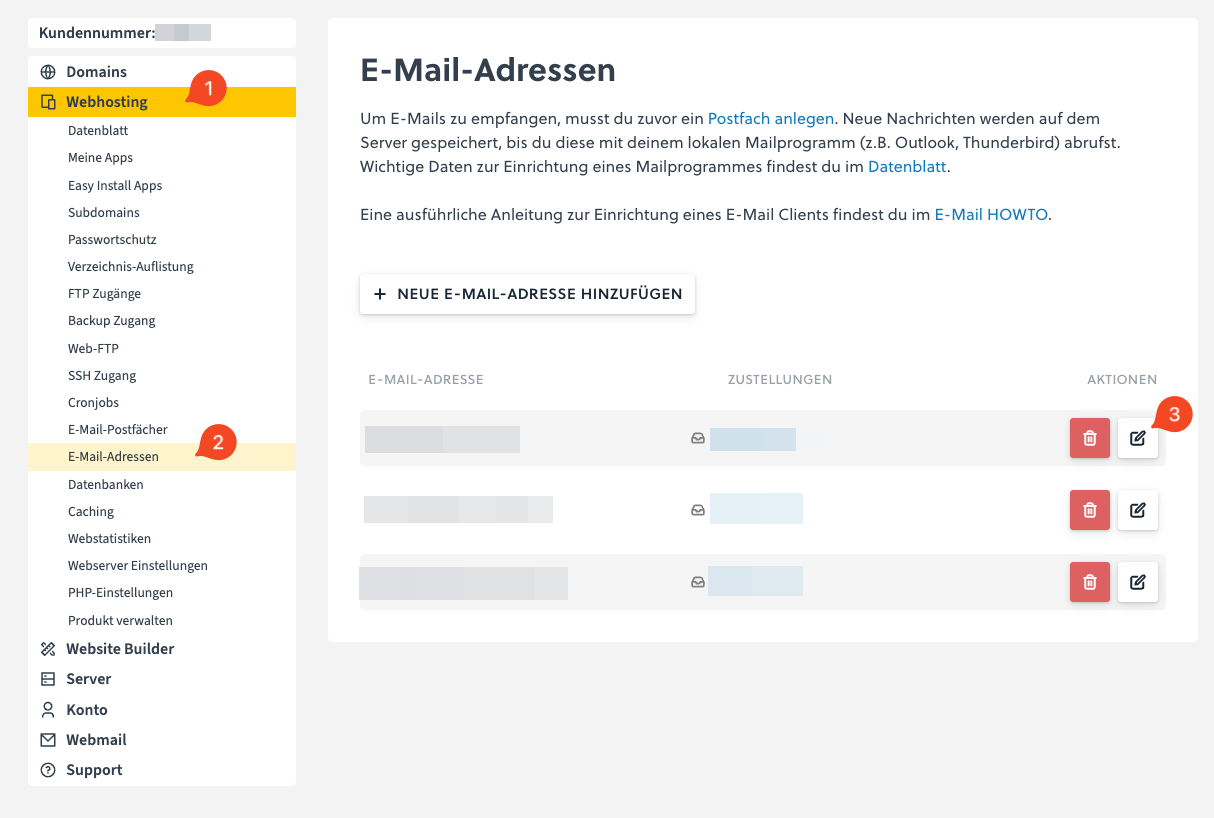
Log in to the Controlpanel and open Webhosting (1) → Email addresses (2).
Click Edit email address (3) next to the desired email address.
Activate the automatic reply in the Autoresponder section.
Enter the Subject and Message text.
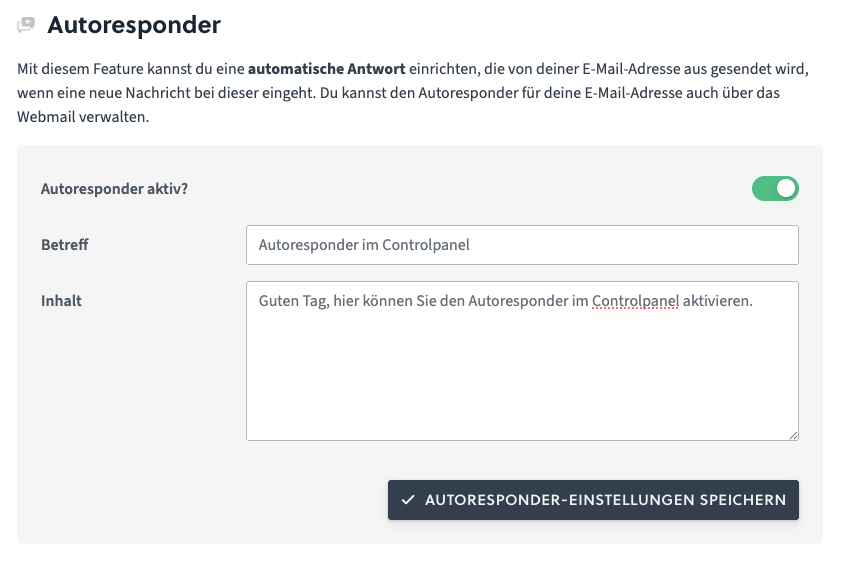
Click Save to activate the autoresponder.
Set up an autoresponder in Webmail
Open Webmail and log in with the desired email address.
Click Settings (1) at the top and open the Identities section (2) on the left.
Select the desired Email address (3).
Activate the Autoresponder option and enter the desired reply text.

Click Save to activate the autoresponder.
Deactivate autoresponder
You can deactivate the autoresponder at any time via the same area.